Setting Up and Configuring Scanner
Contents
 Built-in Camera
This method is the simplest but the least performant of all, so if you plan on scanning a lot of barcodes regularly, we recommend that you consider other methods described below.
To scan a barcode with your device’s camera, simply tap the Scan button in the mobile app. This button will appear on all screens where barcode scanning is applicable.

Scanning barcodes with camera requires the Barcode Scanner app to be installed on the device, otherwise you will be prompted to install it after pressing the Scan button.
 Bluetooth Scanner
You can use a wireless Bluetooth barcode scanner with your mobile device for barcode scanning inside the HandiFox app.
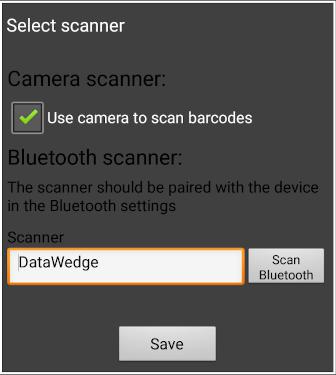
The scanner must first be paired with the mobile device (per the scanner’s manual). Once the scanner is paired, open HandiFox app and go to Admin → Settings → Select Scanner. Tap Scan Bluetooth and wait for the search to complete, then select your scanner from the list.
You can also enter scanner’s Bluetooth address manually in case automatic discovery fails (this address can be viewed in the Bluetooth section of Android settings, in the properties of the paired scanner).

Only scanners capable of SPP mode will work with HandiFox as advertised. Check the System Requirements for recommended models.
 Devices with Built-in Scanner
HandiFox supports certain devices with built-in laser scanners. Visit this page to see all the devices supported. On Motorola devices, additional configuring is required to start using the scanner in HandiFox. Please contact us for details.
Creating a DataWedge Profile (for Zebra Devices)
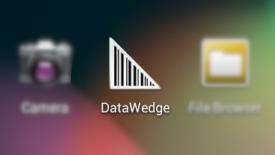
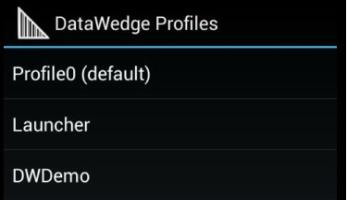
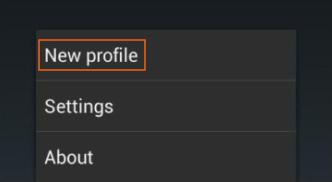
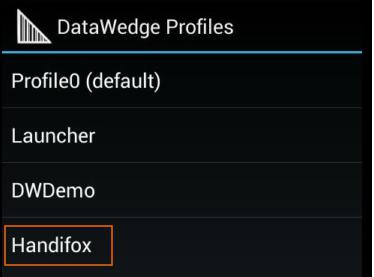
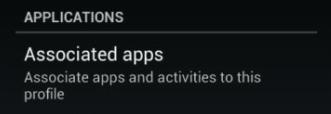
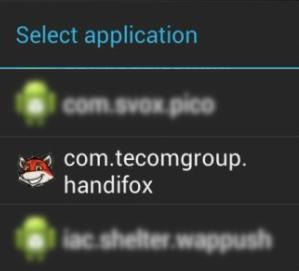
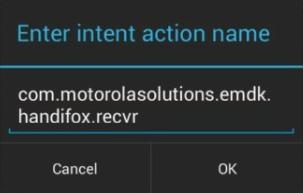
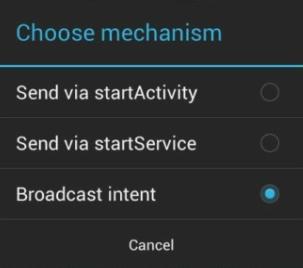
Zebra devices require a DataWedge Profile to be set up to ensure the correct functioning and integration with HandiFox.
Scanner Settings in HandiFox
- Open your HandiFox app and go to Admin → Settings → Select Scanner.
- Uncheck «Use camera to scan barcodes». This will hide the Scan button inside HandiFox and avoid confusion, since you will instead use the built-in scanner and activate it via a hardware trigger or button.
- When done, tap Save.
Troubleshooting
Click here to troubleshoot some known problems that may arise when testing if your scanner works in HandiFox.
Testing Scanner
The best way to test if your scanner now works with HandiFox is in Inventory → Item List.
On this screen, try to scan any barcode you can find around you. It doesn’t have to be one of your products.
If everything is set up and working correctly, the outcome must be one of the two:
- If the barcode you scanned is assigned to one of your products in HandiFox, the Item List will be instantly scrolled to that product, and the item will be highlighted.
- If this barcode is not assigned to any of your items, you will see a warning: «Cannot find scanned item with barcode XXXXXXX».
Either one of these results means scanning in your HandiFox app is working as intended.
